
- How to Clean Car Carpets Quickly (Without An Extractor) - July 10, 2024
- Can You Touch Up Clear Coat On A Car? Yes and No (Here’s Why) - November 25, 2023
- How To Wax A Car By Hand (For Beginners) - November 14, 2023
Last Updated on December 1, 2024 by Nate Schnell
Understanding and Repairing Clear Coat on Your Car
The clear coat on your car acts as a protective barrier, shielding the paint from damage caused by environmental elements. This transparent layer plays a crucial role in preventing issues like body rust and corrosion. It also enhances the paint’s depth and gloss, preserving the vehicle’s overall appearance. However, when the clear coat becomes compromised due to scratches, peeling, or degradation, it can no longer protect the underlying paint effectively. If left unaddressed, this damage can escalate, leading to costly repairs. So, can you touch up clear coat? Yes, you can, but it requires careful consideration and a meticulous approach.
What’s the Deal With Clear Coat?
Before attempting to repair clear coat, it is essential to understand how it works and its role in your car’s paint system. This knowledge will help you make informed decisions during the touch-up process and ensure a more effective repair.
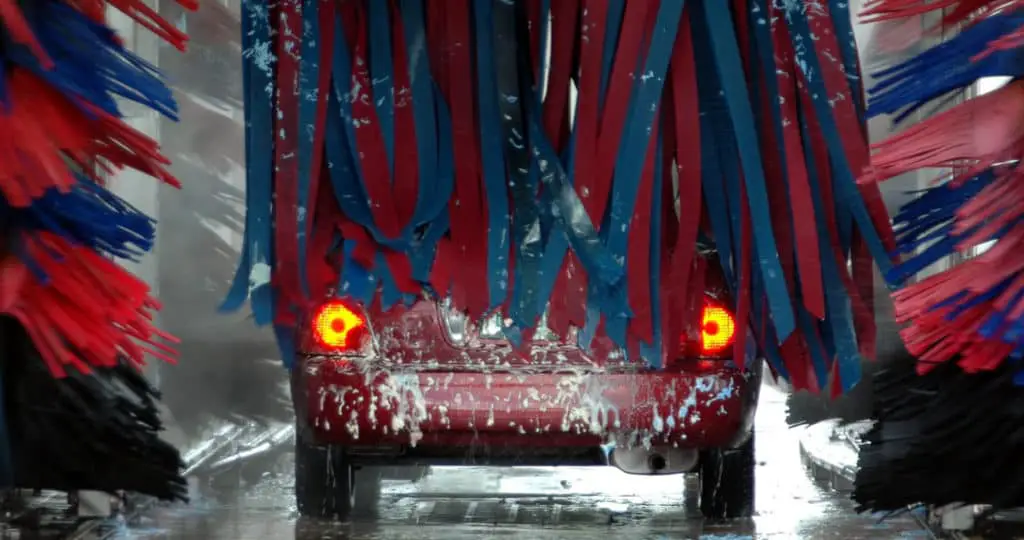
Clear coat is the topmost layer applied during a car’s paint job. While it is transparent and doesn’t contribute to the car’s color, it plays an important role in protecting the base coat beneath. This layer shields the paint from harmful UV radiation, chemical exposure, and minor abrasions. Without it, your car’s paint would fade, oxidize, and become more susceptible to chips and scratches. No bueno. A well-maintained clear coat not only protects the paint but also enhances the car’s overall shine, giving it that polished, showroom finish. Very Bueno.
How Clear Coat Is Applied
The application of clear coat is a detailed and precise process typically performed in a professional setting. After preparing the surface and applying the base color coat, the clear coat is sprayed on in thin, even layers. Each layer must dry before the next one is applied to ensure proper adhesion and a smooth finish. The process requires a dust-free environment to prevent particles from settling on the surface during application, which could compromise the final result and make your car look well, less than ideal.
Causes and Effects of Clear Coat Damage
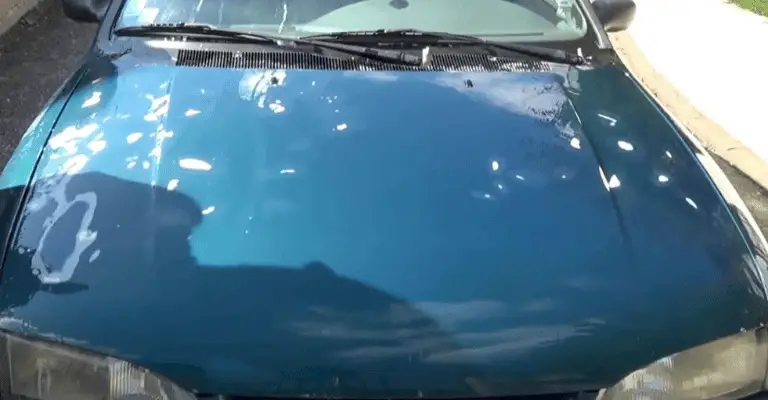
Clear coat, though durable, is not immune to wear and tear. Over time, exposure to harsh environmental conditions can cause it to degrade. Constant exposure to UV radiation from sunlight is a common culprit, leading to fading and peeling. Also, chemicals found in bird droppings, tree sap, and road salt can erode the clear coat if not removed promptly. Physical impacts such as scratches and dings from road debris or poor cleaning techniques can also damage the protective layer. Once compromised, the clear coat may appear dull, oxidized, or start peeling, leaving the paint beneath exposed and vulnerable to further damage.
Can You Touch Up Clear Coat?
Fixing clear coat is possible, but the success of the repair largely depends on the size and severity of the damage. Small scratches or localized peeling can often be addressed effectively with a DIY approach. For larger areas or extensive damage, such as widespread peeling, professional refinishing may be required to restore the car’s appearance.
Key Considerations for Clear Coat Touch Up
When attempting to fix your clear coat, it is important to figure out the extent of the damage and evaluate your own skill level. The repair process involves several steps, and each must be completed with precision to achieve a professional-looking finish. Also, the materials and tools you use can significantly impact the quality of the repair. Choosing high-quality products designed specifically for automotive clear coat repair will help ensure better results.
Step-by-Step Instructions for Repairing Clear Coat
- Begin by preparing the damaged area. Lightly sand the surface with 1500-grit sandpaper to remove any loose or peeling clear coat. Sand carefully to avoid damaging the base paint.
- Clean the area thoroughly using wax-removing wipes. Ensure that the surface is free of dirt, dust, and grease, as any contaminants can interfere with the adhesion of the new clear coat.
- Apply the clear coat in thin, even layers using a spray applicator. Allow each layer to dry completely before applying the next. Typically, two to three layers are sufficient for adequate coverage.
- Once the final layer has cured, wet sand the area with 2000-grit sandpaper to blend the repaired section with the surrounding surface. Keep the sandpaper and surface wet during this step to prevent scratches.
- Finally, buff the area with a polishing compound to restore its shine. Use smooth, consistent motions to achieve a seamless finish.
Challenges and Common Mistakes
Touching up clear coat can be challenging, especially for those without prior experience. One of the most common mistakes is using touch-up paint instead of clear coat, which can result in an uneven finish. Skipping the preparation steps, such as cleaning and sanding the surface, is another frequent error that can lead to poor adhesion and visible patches. Over-sanding is also a risk, as it can damage the underlying paint layer, making the repair more complicated. Rushing through the process, particularly by not allowing adequate drying time between layers, can compromise the durability of the repair.
Get Help?
While DIY touch-ups can be effective for minor damage, there are instances where professional assistance may be the better option. If the clear coat is peeling extensively or the damage covers a large area, a professional refinishing job will ensure a smoother and more durable result. Auto body shops have the expertise and equipment necessary to handle large-scale repairs, such as spray booths that provide a controlled environment for applying the clear coat.
Final Layers (See What I Did There)
Touching up clear coat is a meticulous process that requires careful preparation and attention to detail. With the right tools, techniques, and a bit of patience, you can effectively restore your car’s clear coat, protecting the paint and preserving the vehicle’s appearance. However, for extensive damage or if you’re unsure about your abilities, find a guy that knows what he’s talking about. Proper maintenance, including regular washing and waxing, can also help prevent damage to your clear coat, ensuring your car stays in excellent condition for years to come.
Frequently Asked Questions
What is Clear Coat?
Clear coat is a transparent paint layer that adds shine and protects the underlying colored paint on vehicles. It acts as a barrier against environmental elements and UV rays, preventing fading and oxidation of the base paint.
Can You Touch Up Clear Coat on a Car?
Yes, you can touch up the clear coat on a car. This process involves applying a new layer of clear coat to areas where it has been damaged or has deteriorated. It can be done as a DIY project for minor touch-ups or through professional services for more extensive damage.
What Are the Necessary Steps to Touch Up Clear Coat?
To touch up clear coat, first clean the affected area thoroughly to remove any dirt or debris. Lightly sand the area to create a smooth surface for the new clear coat to adhere to. Then, apply the clear coat evenly, following the product’s instructions. After it dries, buff the area to blend the new clear coat with the existing coating, achieving a smooth and glossy finish.
What Tools and Materials Do You Need for Clear Coat Touch Up?
For a clear coat touch-up, you will need fine-grit sandpaper, a clean cloth for wiping the surface, a quality clear coat product (typically in a spray can or bottle), and a buffing compound. Optionally, masking tape and plastic sheeting might be needed to protect adjacent areas from overspray.
How Long Does a Clear Coat Touch Up Take to Dry?
A clear coat touch-up usually takes a few hours to become touch-dry, but it’s recommended to wait at least 24 hours before exposing the car to harsh conditions. Full curing can take up to a week, depending on environmental factors like temperature and humidity.