
- How to Clean Car Carpets Quickly (Without An Extractor) - July 10, 2024
- Can You Touch Up Clear Coat On A Car? Yes and No (Here’s Why) - November 25, 2023
- How To Wax A Car By Hand (For Beginners) - November 14, 2023
Last Updated on December 10, 2024 by Nate Schnell
If you own a car with plastic trim, you’ve likely noticed how time and exposure to the elements can affect its appearance. Over the years, UV rays, dirt, and weather take a toll, causing the trim to fade, lose its shine, and turn dull or chalky. This not only diminishes your car’s visual appeal but can also lower its resale value. The good news? Restoring plastic trim is entirely possible, and with the right tools and techniques, you can bring it back to life.
This guide will take you through the process step-by-step, from understanding why plastic fades to achieving a professional-level finish.
Why Does Plastic Trim Fade?
The primary culprit behind fading trim is prolonged exposure to ultraviolet (UV) rays from the sun. UV radiation breaks down the molecular structure of plastic, causing oxidation and a loss of color. Weathering, dirt, and pollutants exacerbate the issue, leaving the trim looking aged and neglected. While fading is inevitable without protection, regular maintenance and timely restoration can significantly slow the process and keep your car looking fresh.
Preparing to Restore Your Plastic Trim
Before starting, preparation is crucial for achieving the best results. Here’s what you need to do:
- Clean Thoroughly: Use a mild soap or automotive cleaner and a microfiber cloth to remove dirt, oils, and debris from the trim. Pay extra attention to crevices and textured surfaces where grime can accumulate.
- Dry Completely: Ensure the trim is fully dry before applying any restoration product. Residual moisture can interfere with the application and effectiveness of the product.
- Protect Adjacent Areas: Use masking tape to shield surrounding paint or glass from coming into contact with restoration products.
Supplies You’ll Need
To restore plastic trim, gather the following items:
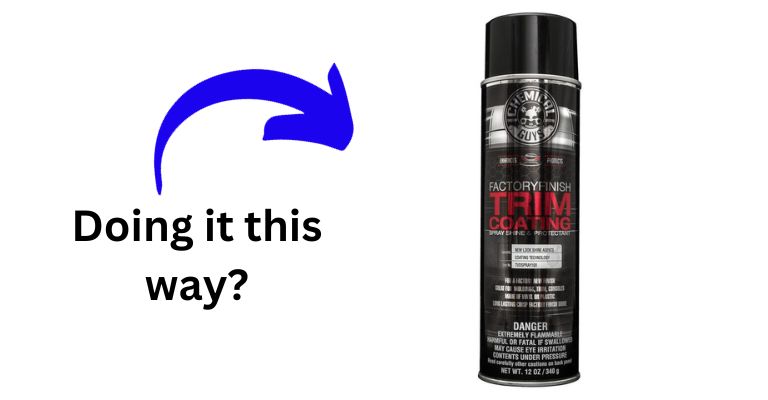
- A high-quality plastic trim restorer or rejuvenator
- Microfiber cloths
- Masking tape
- Optional: A heat gun for advanced restoration techniques
While a heat gun is not always necessary, it can be useful for older, severely faded plastic.
Step-by-Step Guide to Restoring Plastic Trim
1. Clean the Trim
Start with a clean surface to ensure the restoration product adheres properly. Use a soft brush or cloth along with a suitable cleaner to scrub away dirt and grime. Rinse and wipe dry with a microfiber cloth.
2. Inspect for Damage
Take a close look at the trim to identify areas with fading, scratches, or discoloration. This will help you decide whether additional treatments, like scratch repair or painting, are necessary.
3. Apply Plastic Restorer
Choose a high-quality plastic restorer designed for automotive use. Apply a small amount to a microfiber cloth and rub it onto the trim using circular motions. Focus on one section at a time to ensure even coverage. Avoid overapplying, as excess product can leave streaks or residue.
4. Buff the Surface
After letting the product settle for the recommended time (as stated on the label), use a clean, dry microfiber cloth to buff the surface gently. This step enhances the shine and removes any excess product.
5. Optional: Use a Heat Gun
For severely faded plastic, a heat gun can help restore color by drawing natural oils to the surface. Hold the heat gun 4–6 inches away from the trim and move it back and forth evenly. Be cautious not to overheat the plastic, as it can warp or melt.
Protecting Your Restored Trim
Once you’ve restored your trim, protecting it is essential to prolong the results.
- Apply a UV Protectant: A UV protection spray or sealant can shield the trim from further sun damage. Reapply every few months for continued protection.
- Regular Cleaning: Keep the trim clean with mild soap and water to prevent buildup of dirt and grime.
- Park Smart: Whenever possible, park in shaded areas or use a car cover to minimize sun exposure.
DIY vs. Professional Restoration
Restoring plastic trim can be a DIY project if you have the right tools and are willing to invest the time. However, for severely damaged or intricate trim, you might consider professional restoration. Professionals have access to advanced tools and products that can achieve a longer-lasting finish. While this option is more expensive, it’s a worthwhile investment for high-end vehicles or those with extensive damage.
Troubleshooting Common Issues
During the restoration process, you might encounter challenges such as streaks, uneven application, or residue. To address these:
- Use a clean microfiber cloth to buff out streaks.
- Reapply a light coat of restorer to areas that look uneven.
- If residue remains, gently clean the surface with a damp cloth and reapply the product.
Maintaining Restored Plastic Trim
Keeping your trim in great condition requires ongoing care. Regularly inspect the trim for signs of wear or fading and touch up as needed. Products like plastic restorers and UV protectants should be part of your car care routine to maintain the restored finish.
FAQs
How often should I restore my plastic trim?
Typically, plastic trim restoration is needed every 6–12 months, depending on exposure to sunlight and weather.
Can household cleaners damage car trim?
Yes, harsh household cleaners can strip away protective coatings or cause discoloration. Stick to products specifically designed for automotive use.
Is painting a good option for restoring trim?
Painting is a viable option for severely damaged or discolored trim. Use automotive-grade plastic paint for the best results.
Can a heat gun damage plastic?
If used improperly, a heat gun can warp or melt plastic. Always start with low heat and keep the gun moving to prevent damage.
Final Thoughts
Restoring plastic trim not only improves your car’s appearance but also helps maintain its value. With the right tools and techniques, you can achieve professional-looking results at home. Regular maintenance and protection will ensure your efforts last, keeping your car looking sharp and well-cared for. By following these steps, you’ll be driving a car that looks as good as it feels, inside and out.